Rapid Recovery: Archive to cloud - recover to anywhere
 04:32
04:32
Related videos
Overview of agentless deployment in Rapid Recovery
This video presents an overview of agentless deployment in Rapid Recovery. See how Rapid Recovery adds simplicity and reduced costs with agentless deployment. ...
03:12
How to restore and retrieve mail in Rapid Recovery
This video demonstrates how to restore and retrieve mail in Rapid Recovery. See how Rapid Recovery goes about doing mail restores, mail retrievals and attachmen...
03:39
How to do a file-level restore in Rapid Recovery
This video demonstrates how to do a file-level restore in Rapid Recovery.
03:53
Water destroys Journeycall’s servers, but not their data – thanks to Rapid Recovery
After an air conditioning unit in Journeycall/ESP Group’s datacenter showered their servers with water, every chassis in the rack was soaked. Two contact center...
03:00
How to backup and restore Toad Intelligence Central using Rapid Recovery
This video demonstrates how to backup and restore Toad Intelligence Central using Rapid Recovery.
07:22
Overview of the dashboard in Rapid Recovery
This video provides an overview of the dashboard in Rapid Recovery. The new dashboard in Rapid Recovery is customizable and provides easy drag-and-drop feature...
03:50
Rapid Recovery is Powerful Data Protection
In this short video, see how powerful, easy to use and flexible Rapid Recovery is – and how it keeps your critical data safe. With Rapid Recovery Data Pr...
03:56
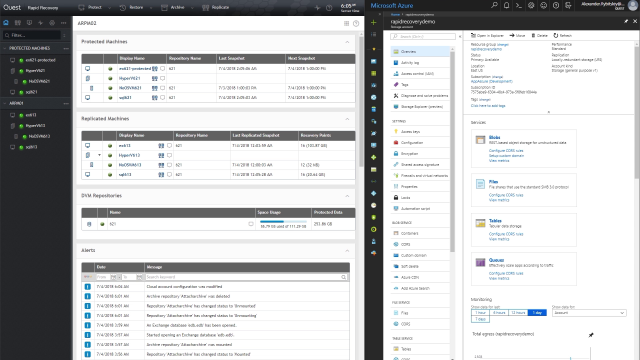
How Do Rapid Recovery and Azure Work Together for Offsite Backups?
Did you know Rapid Recovery can use Azure as a replication target for your backups? In this short video you will see how Rapid Recovery utilizes Azure for offs...
02:40
Don’t Let Ransomware Hold Your Data Hostage
Ransomware is a constant threat not just when it's in the news. This short video gives you three quick tips to help protect your inboxes against security threat...
01:33
Overview of Rapid Snap for Virtual in Rapid Recovery
This video provides an overview of Rapid Snap for Virtual in Rapid Recovery. Rapid Snap for Virtual environments make it easy to achieve scalable protection for...
03:47
Overview of Live Recovery in Rapid Recovery
This video provides an overview of Live Recovery in Rapid Recovery. Chris Randvere, sales engineer for data protection mimics a massive data loss within Exchang...
05:08